Have you ever joined a yoga class and wondered why you seem to be struggling more than the yogi next to you?
It might help to break the pose down into the elements required by each area of the body and work on them separately before putting it all together.
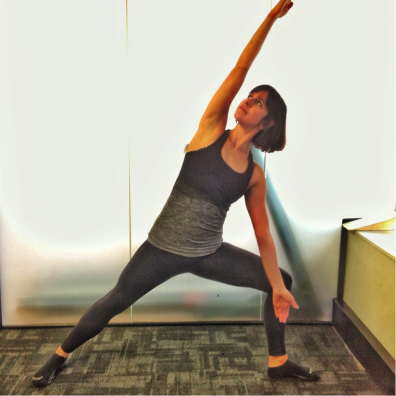
Here’s an example using the ‘extended side angle’ pose as performed by Pilates instructor Luisa Burgoyne.
As pictured below, this pose requires:
- left hip flexion
- right hip extension
- spine rotation right
- elevation of right shoulder
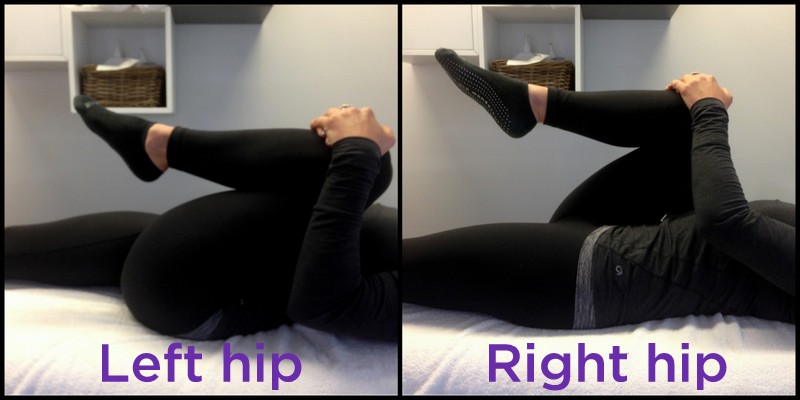
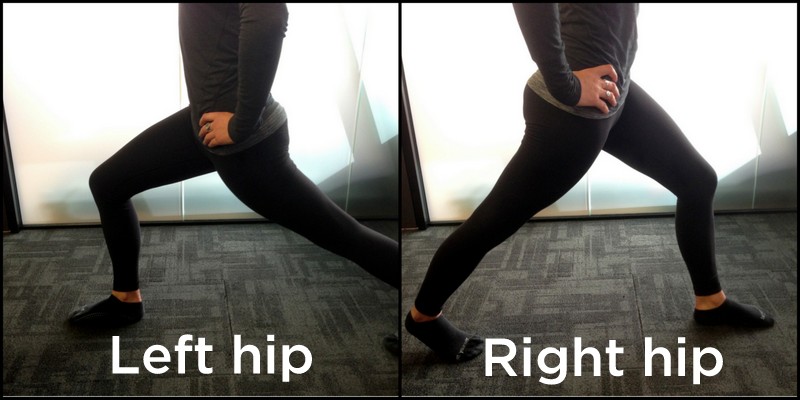
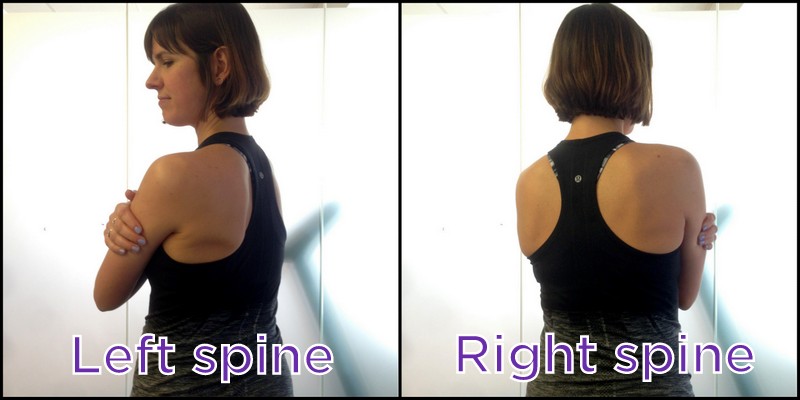
We broke these movements down individually to test and compare them side to side:
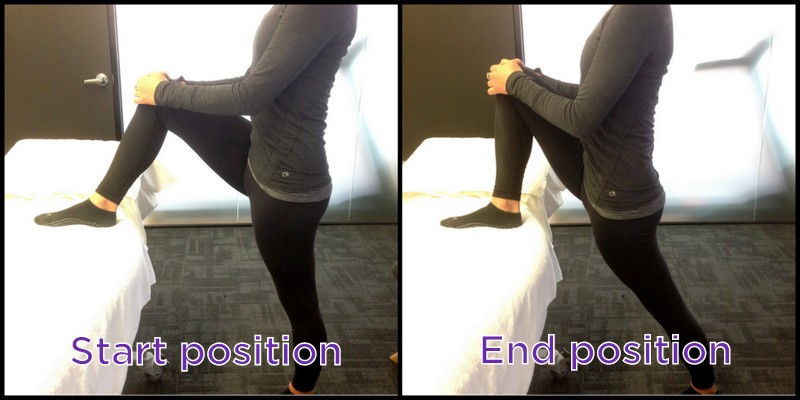
- Hip flexion (reduced right)
-
- Hip extension (reduced right)
-
-
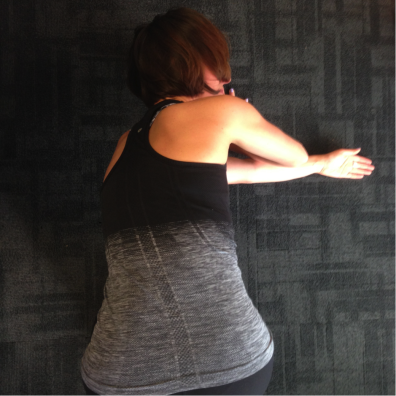
- Spine rotation (reduced right)
-
-
-
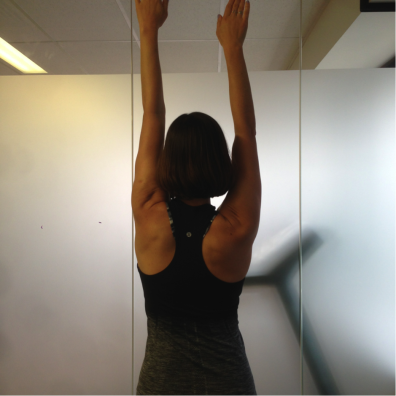
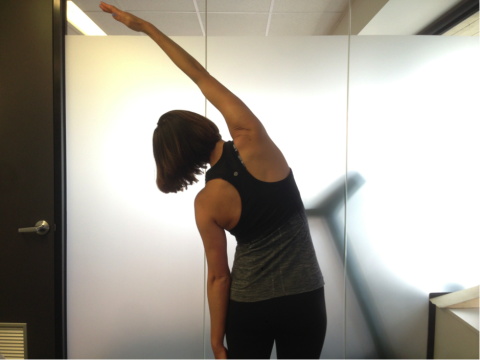
- Elevation of shoulders (reduced right)
-
MOBILISING EXERCISES
In order to assist each of these movements, some mobilising could be done as follows. Each can be performed as sustained holds or by bouncing at the end range trying to take the movement slightly further as you progress:
- Right Hip flexion:
- Right thoracic rotation:
- Right shoulder reach stretch:
This approach can be applied to any yoga pose. Give it a go and you’ll soon learn what’s holding you back. With a bit of consistency working on your limits you’ll be a limber yogi in no time!
While the example pictured above is exaggerated for clarity, it should help you target the particular body movements required for your yoga poses.
If you would like to speak to Dr Brendan O’Loughlin, Luisa Burgoyne or any of our other practitioners about yoga classes, pilates or any other issue, please feel free to ask a question, contact us or email us at:info@melbourneosteopathycentre.com.au

